Heat Pumps: Are They the Future of Home Heating (and Is the Future Now)?
If you’ve been paying attention to the government’s net-zero targets, the rise of green tech, or the latest heating industry buzzwords, you’ve probably heard of heat pumps. They’re being pitched as the clean, renewable future of home heating. And in many ways — they are.
But are they right for your home? Are they as simple as swapping out a boiler? And is the “future” here yet, or are we still warming up to the idea?
Let’s take a level-headed look at heat pumps, where they work best, and why at DTS we’re currently big fans of hybrid systems — even if they’ve not quite hit the mainstream yet.
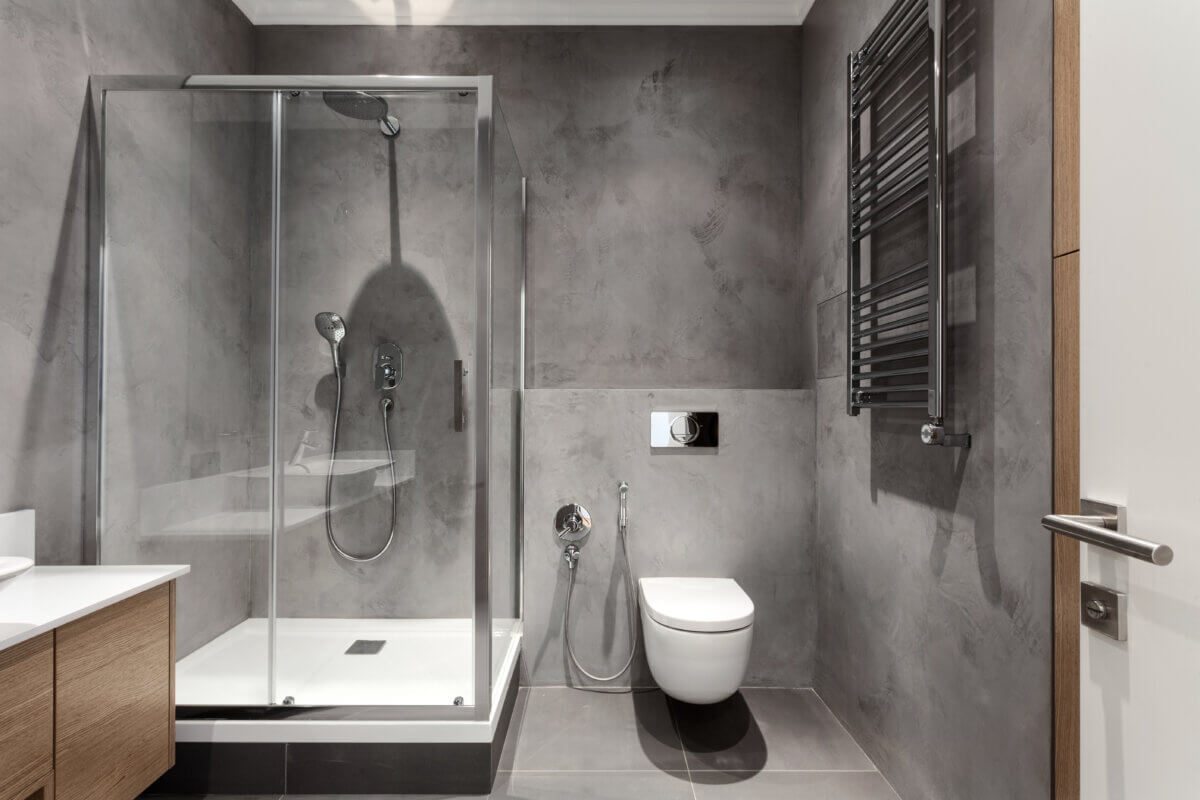
There’s nothing quite as annoying as stepping into a warm, relaxing shower — only to be suddenly blasted with fHeat Pumps: Are They the Future of Home Heating (and Is the Future Now)?
If you’ve been paying attention to the government’s net-zero targets, the rise of green tech, or the latest heating industry buzzwords, you’ve probably heard of heat pumps. They’re being pitched as the clean, renewable future of home heating. And in many ways — they are.
But are they right for your home? Are they as simple as swapping out a boiler? And is the “future” here yet, or are we still warming up to the idea?
Let’s take a level-headed look at heat pumps, where they work best, and why at DTS we’re currently big fans of hybrid systems — even if they’ve not quite hit the mainstream yet.
What is a Heat Pump?
A heat pump works a bit like a fridge, but in reverse. It pulls heat from the outside air (even in winter), compresses it, and uses it to heat your home and hot water. Sounds clever? It is.
They run on electricity, not gas or oil, and they’re incredibly efficient — delivering more energy than they use, especially in well-insulated homes.
They’re a big part of the UK’s plan to phase out traditional fossil fuel heating systems over the next decade. But there’s a catch — well, a few.is likely with the shower unit or mixer itself.This is exactly why we recommend fitting a Surestop.
The Pros of Heat Pumps
Let’s give them their due credit:
- Energy-efficient: For every 1kW of electricity used, a heat pump can deliver 3–4kW of heat. That’s clever stuff.
- Lower carbon emissions: Great if you’re trying to go greener at home.
- Works with renewable energy: Pair with solar panels for even more savings.
- Future-proof: The government loves them, and regulations are moving in their direction.
If your house is already well-insulated with underfloor heating or modern radiators, a heat pump can be a great solution.
But — and there’s always a but — it’s not just a case of swapping one box for another.
The Drawbacks (That Often Get Glossed Over)
Heat pumps work very differently to traditional gas boilers, and to get the most out of them, your home needs to be properly prepared. That’s where the extra cost (and disruption) comes in.
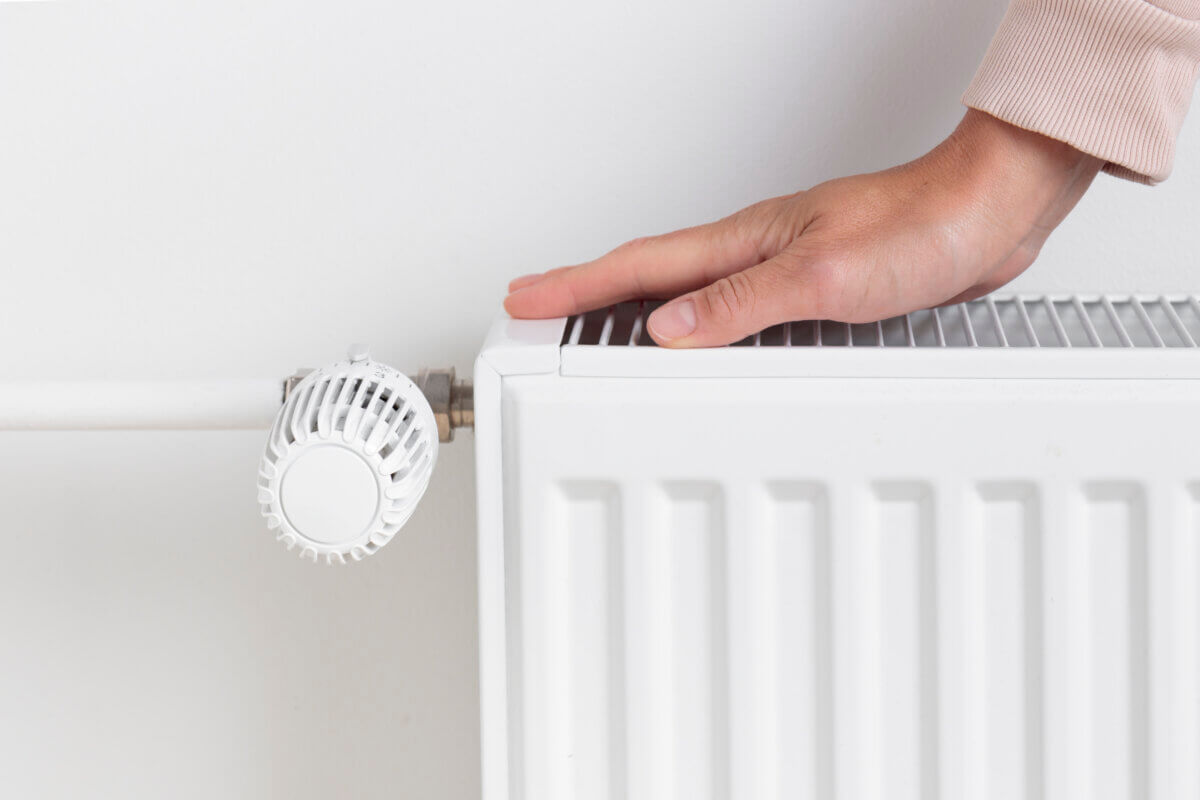
1. You’ll Probably Need to Upgrade Your Radiators and Pipework
Because heat pumps run at lower temperatures, you need larger surface areas to get the same warmth. This means:
- Bigger radiators
- Thicker pipes in some cases
- Possibly more radiators added in colder rooms
That’s not just an equipment upgrade — it usually means decorating, plastering, or flooring work once the new pipework’s in.Solution: A replacement thermostatic cartridge or a full shower upgrade.
2. You’ll Need More Space
Gas combi boilers are compact, tidy, and sit out of the way. Heat pump systems? Not so much.
To make it work, you’ll typically need:
- An external heat pump unit outside the home
- An unvented hot water cylinder (if you don’t already have one)
- A buffer tank (in some setups)
If space is tight, this can be a real challenge.
3. Installation is More Complex
Fitting a heat pump is not a straight swap. It needs:
- Careful design
- A proper heat loss calculation
- A knowledgeable installer who understands how to balance flow rates and temperatures
Unfortunately, not every heating company knows how to do this well. We’ve seen plenty of installations where things weren’t sized properly, or settings were left untouched. That’s bad for performance and for your energy bills.
So… Are They Worth It?
In the right home, with the right setup, absolutely. We’ve seen heat pumps work brilliantly in:
- Well-insulated new builds
- Renovated homes with modern systems
- Customers happy to invest in the full upgrade
But in many UK homes — especially older ones with standard radiators and combi boilers — the switch is a big job. Not impossible, but more time-consuming, more expensive, and potentially disruptive..
Our Favourite Option: The Hybrid Setup
For homeowners who want to dip a toe into renewable heating without ditching gas completely, we’re big fans of the hybrid system.
A hybrid setup combines a gas boiler and a heat pump, letting them work together. The heat pump handles most of the everyday heating efficiently, while the boiler kicks in for hot water or when you need a little extra oomph on colder days.
It’s a great balance:
- Lower running costs
- Fewer upgrades required
- Better comfort
- Built-in backup
The downside?
As of now, there are no government grants available for hybrid systems, even though they’re often the most practical solution for real homes.
So, What Should You Do?
Here’s our honest take:
- If you’re building a new home, extending, or completely renovating — look into heat pumps or hybrid setups.
- If you live in a well-insulated house and have space for a hot water tank — heat pumps are worth a look.
- If your home has older radiators, minimal insulation, or you’re on a tighter budget — a modern gas boiler is still your best bet for now.
At DTS, we’re not here to sell you whatever’s trendy. We’re here to give you the heating setup that makes sense for your home, your budget, and your comfort.m.
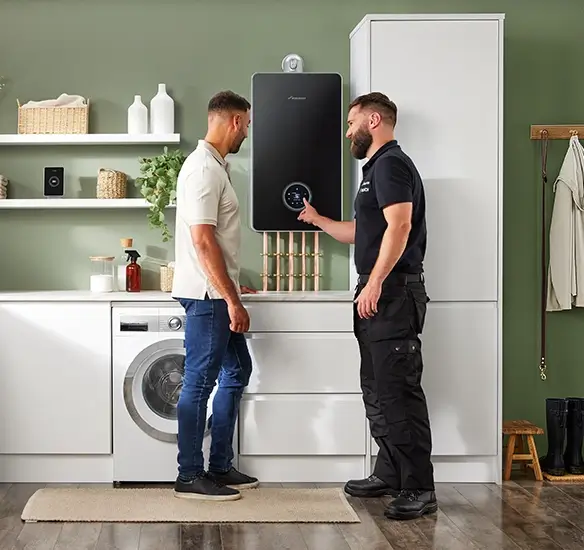
Want Advice on What’s Right for Your Home?
We design and install:
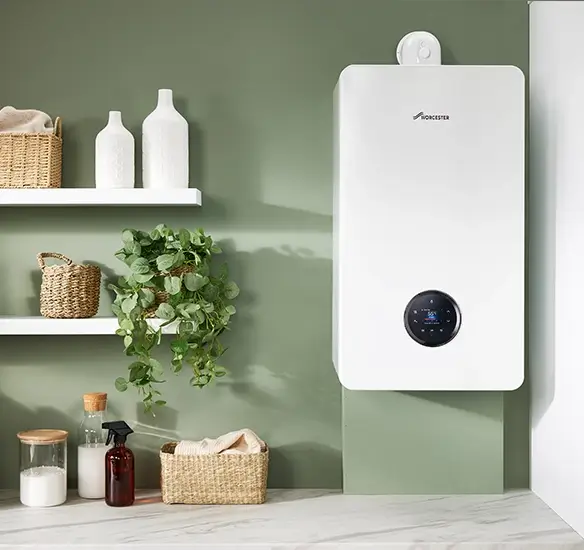
- Gas boilers
- Hybrid systems
- Heat pump-ready upgrades
- Full heating renovations
And we do it with your comfort, space, and budget in mind.
Get in touch for a no-obligation chat — we’ll help you figure out what works best without the jargon or pressure.
Call us on 0114 248 3011 Or book an appointment online: www.dtsplumbing.co.uk/book-an-appointment


 The downsides?